
by Glorifix
Share
Share

Whether you’re a homeowner aiming for a luxury look, an interior designer introducing unique wall features to your projects, or a contractor helping clients elevate their interiors, understanding how to sand Venetian plaster between coats is crucial. This comprehensive guide delivers step-by-step instructions, expert tips, best practices, and answers to common questions, empowering you to achieve professional, flawless results—every time.
Why Venetian Plaster is the Ultimate Choice for Toronto Interiors
Before diving into technique, it’s important to fully appreciate the value of Venetian plaster. This centuries-old finish has graced the walls of palaces and contemporary spaces for good reason. In addition to its elegant texture and depth, Venetian plaster offers remarkable durability, natural breathability, and mold-resistance, making it ideal for Toronto’s varied climate.
For a complete overview of why this finish is topping trends in residential and commercial design, explore the key benefits of using Venetian plaster for your Toronto walls in 2026.
The Importance of Sanding Between Coats of Venetian Plaster
What Makes Sanding So Important?
The beauty and feel of Venetian plaster stem from its translucent layers and the subtle sheen created by burnishing. Sanding between coats is what ensures these layers are flawless and continuous. Proper sanding not only removes imperfections, such as trowel lines or trapped grit, but also helps each new coat adhere smoothly to the previous layer. This results in:
- A uniformly polished, smooth surface
- Enhanced sheen and light reflection
- Increased plaster longevity and resistance to wear
- Clear, marble-like depth—trademark of masterful Venetian finishes
Common Problems Without Correct Sanding
- Visible drag lines or streaks
- Poor adhesion between coats (leading to peeling or cracking)
- Loss of signature sheen and depth
- Uneven application—especially prominent in high-gloss finishes
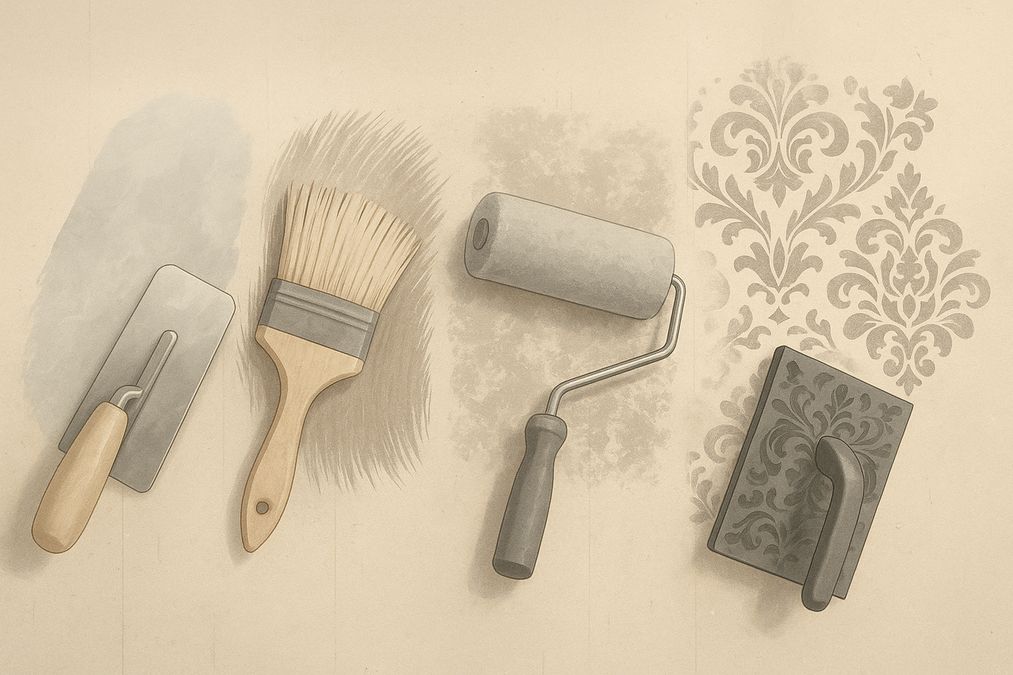
What You Need: Tools & Materials for Sanding Venetian Plaster
Having the right tools ensures a hassle-free process and professional-grade results. Below you’ll find a complete list of what’s required—from start to finish:
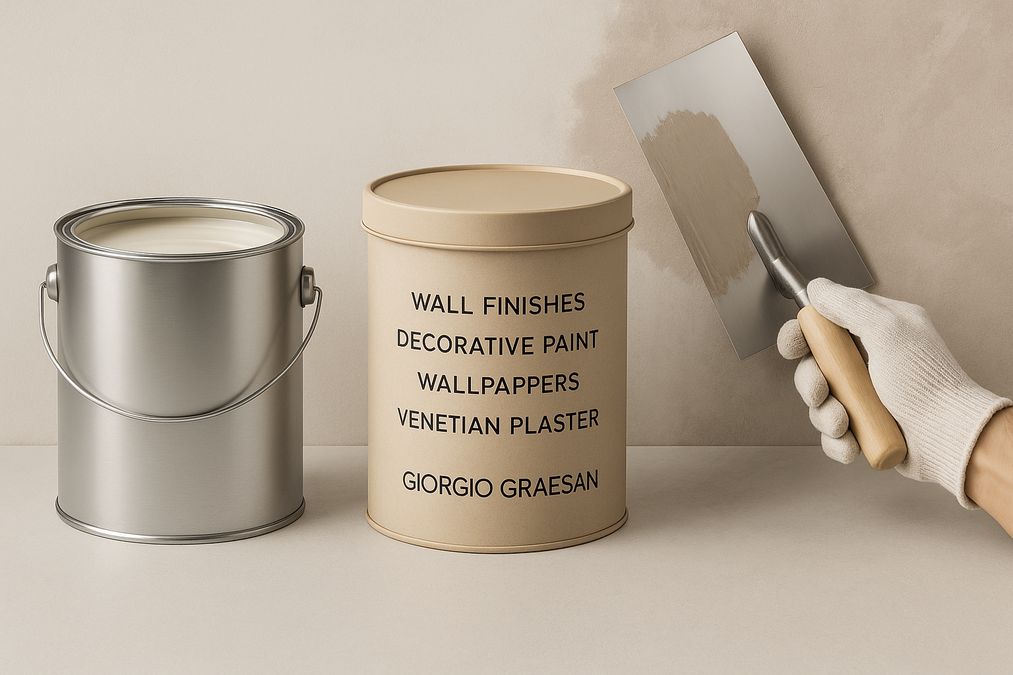
- Venetian plaster (approved for interior use): Quality is crucial. Providers such as venetianplastershop.ca supply top-tier products from Giorgio Graesan Italy.
- Trowel & spatulas: Stainless steel, flexible, and perfectly clean
- Fine-grit sandpaper: 400-800 grit for inter-coat sanding; up to 1000-2000 for the final polish
- Sanding block or pole sander: For even pressure and to protect your hands
- Vacuum or tack cloth: Essential for removing fine dust between sanding and coats
- Protective equipment: Dust mask, safety glasses, gloves
- Drop cloths & painter’s tape: To safeguard floors, trim, and furnishings
Remember, professional tools and materials delivered by Toronto suppliers like venetianplastershop.ca will help you achieve the finest results possible.
Step-by-Step: How to Properly Sand Between Coats of Venetian Plaster for a Smooth Finish
Step 1: Ensure Complete Drying
Before beginning any sanding, confirm that the previous coat is completely dry. This is non-negotiable, as moist plaster can deform, clog your sandpaper, or leave permanent marks. Drying can vary from 6 to 48 hours depending on ventilation, humidity, and product type—when in doubt, allow extra time.
Step 2: Evaluate Your Surface
Carefully inspect the surface under strong light. Look for trowel marks, air bubbles, ridges, or particles stuck in the plaster. Mark areas that require extra attention with painter’s tape.
Step 3: Choose the Right Sandpaper
- Start with 400-grit for general smoothing on the first inter-coat sand
- Use 600-800 grit for subsequent coats
- For burnishing or ultra-smooth finishes, follow up with 1000-2000 grit
Tip: Always use fine-grit sandpaper to avoid scratching or gouging the delicate plaster!
Step 4: Gentle, Circular Motions
Attach the sandpaper to a sanding block for even pressure. Begin in a corner and work methodically across the wall:
- Use light, circular motions to smooth rough spots and blend edges
- Do not linger in one spot—over-sanding can create dips
- Periodically check your work by running your hand gently over the surface
- For corners and edges, fold sandpaper and use your fingers for detailed touch-ups
Step 5: Clean Thoroughly Between Coats
After sanding, thoroughly remove all plaster dust:
- Use a vacuum with a brush attachment, followed by a tack cloth
- Ensure every bit of residue is gone—dust can prevent new plaster from adhering smoothly
Step 6: Repeat for Each Coat
Venetian plaster typically involves at least 2 to 3 thin coats. Each layer should be sanded (except possibly the final coat, which is often burnished for sheen):
- Apply the next coat only after the surface is smooth, dust-free, and dry
- Repeat the sanding, cleaning, and checking process for each layer
Step 7: Final Finish—Burnishing or Polishing
The last stage after all coats are applied is achieving the signature glossy, marble-like finish:
- Use the smooth edge of a clean, flexible trowel or burnishing blade
- Buff the dried surface using firm, overlapping strokes until desired shine is reached
- For extra-gloss, ultra-fine 2000-grit sandpaper may be used—polish gently and finish with a soft dry rag
For detailed insight into the subtle differences and unique characteristics of Venetian versus other finishes, see this resource on the difference between faux plaster and Venetian plaster in Toronto.
Pro Tips for Impeccable Venetian Plaster Sanding
Master Your Timing
- If you sand too soon, you risk damaging the base layer. Too late, and the plaster may harden, becoming more difficult to smooth.
- Toronto’s climate in 2026 may affect drying times due to humidity—always check and adjust accordingly!
Always Test in a Small Area
Before sanding the entire wall, perform a small patch test—the goal is to feel resistance without removing too much material. This helps you avoid costly mistakes.
Change Sandpaper Often
Clogged or worn sandpaper cannot cut evenly and might scratch the surface. Replace as soon as it loads with dust.
Utilize Quality Products
Premium Italian plasters and tools ensure smoother results. Trusted suppliers like venetianplastershop.ca are the industry standard for Toronto, offering expert advice, authentic products, and ongoing support for your projects.
Common Mistakes and How to Avoid Them
- Over-Sanding: Applying too much pressure or sanding excessively can expose the substrate or create uneven patches. Always use a feather-light touch.
- Using Too-Course Sandpaper: Grit below 400 can scratch or damage the soft plaster finish.
- Skipping Dust Removal: Dust left between layers causes poor adhesion and marring—always clean meticulously.
- Sanding Wet Plaster: Wait until fully dried to maintain surface integrity.
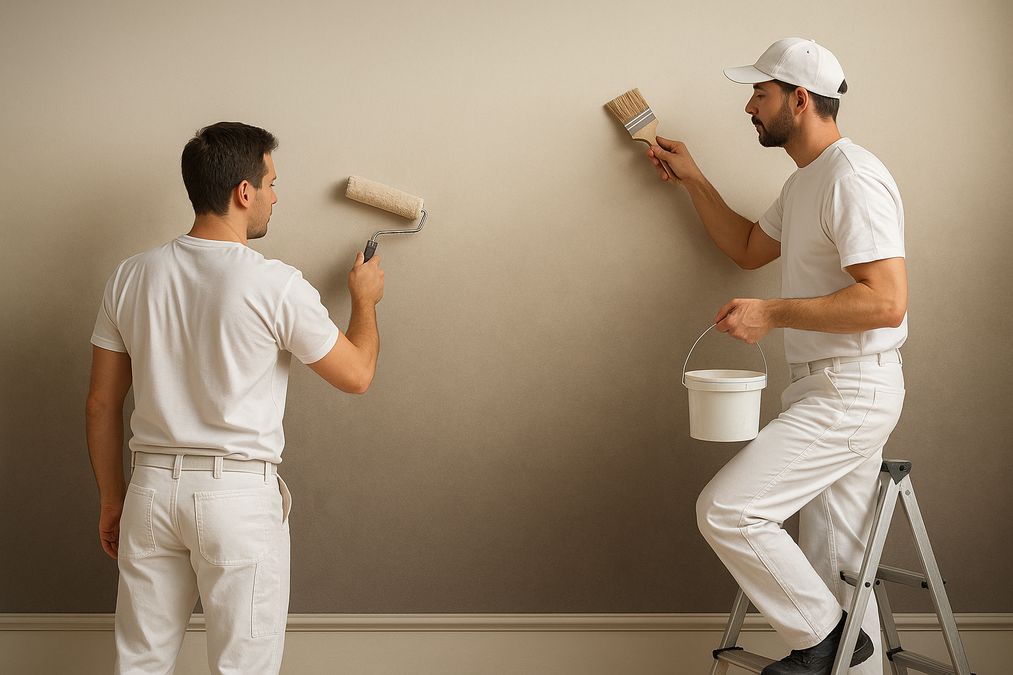
Should You DIY or Hire an Expert?
Sanding Venetian plaster between coats can certainly be learned by homeowners, DIY enthusiasts, and even beginners, with patience and focus on detail. However, the stakes are high—for large-scale projects or high-traffic commercial spaces, hiring a certified Toronto professional is a wise investment to guarantee results.
If you’re curious about beginner learning curves or considering tackling your first wall, check out this guide on learning Venetian plaster techniques as a beginner for insights, guidance, and practical tips.
Why Choose venetianplastershop.ca as Your Toronto Supplier in 2026?
Experience, authentic materials, and comprehensive support are vital for Venetian plaster success. venetianplastershop.ca offers:
- Premium Giorgio Graesan plasters, imported from Italy
- Top-grade tools and trowels optimized for decorative finishes
- Complete workshops and training for DIYers and professionals
- Expert advice on color selection, textures, and application
- Full range of decorative paints, wallpapers, and wall finishes
- Local Toronto expertise—guaranteeing materials and service perfectly suited for Canadian conditions in 2026
Frequently Asked Questions
Can I use a hand sander or electric sander for Venetian plaster?
Power sanders are usually not recommended—they can be too aggressive and hard to control. Use a manual sanding block with fine-grit sandpaper for the best results.
How many coats of Venetian plaster should I apply?
Typically, 2 to 3 thin coats provide sufficient build and depth for most interior designs. Each coat must be sanded (except the last, which is usually burnished).
What finishes are possible with Venetian plaster?
From high-gloss, mirror-smooth to more rustic, matte looks—the finish will depend on material choice, color, burnishing, and technique. For the smoothest possible surface, follow each sanding with a thorough polish.
How do I care for my finished Venetian plaster wall?
Allow the plaster to cure fully before cleaning. Use a feather duster or slightly damp microfiber cloth for regular cleaning. Avoid harsh abrasives.
Conclusion: Master the Art of How to Properly Sand Between Coats of Venetian Plaster for a Smooth Finish
Achieving a flawless Venetian plaster surface is as much about patience as it is about skill. By paying close attention to how to properly sand between coats of Venetian plaster for a smooth finish, you set the stage for exquisite, timeless results that elevate any home, office, or retail environment in Toronto in 2026.
Ready to get started on your walls, or need advice from certified experts? Trust venetianplastershop.ca for the highest quality products, tools, and training—bringing beauty and durability to your spaces for years to come.
Contact the Venetian Plaster Specialists Today
Want expert guidance or to order premium Venetian plaster and tools? Contact venetianplastershop.ca today—Toronto’s leading source for Venetian plasters, decorative paint, wallpaper, and wall finishes in 2026. Achieve flawless elegance on every wall!
STAY IN THE LOOP
Subscribe to our free newsletter.
For Toronto homeowners, interior designers, and contractors, dealing with uneven walls, visible seams, or pockmarks in drywall is a frequent challenge—especially in older homes, condo renovations, or high-traffic commercial spaces. Fortunately, modern decorative paint techniques offer highly effective ways to conceal drywall imperfections while creating visually stunning finishes that elevate interiors. Drawing from years of […]
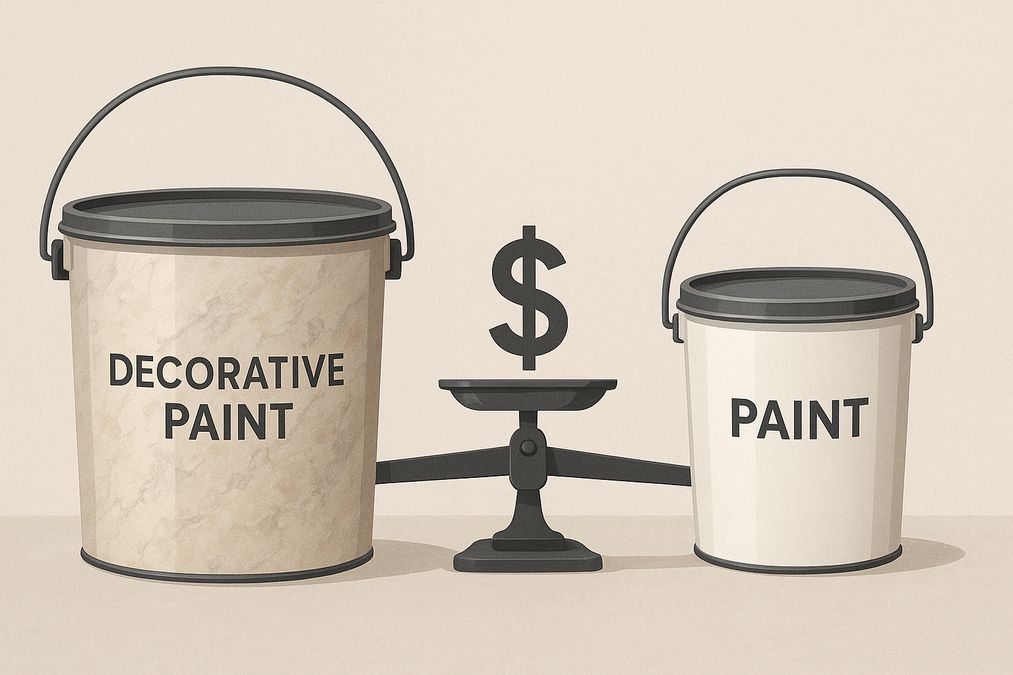
Decorating your Toronto home, office, or commercial space often starts with one big question: is it worth paying extra for decorative paint, or should you stick to standard paint buckets found at major hardware stores? As seasoned decorative wall finish professionals, we’ve seen countless homeowners, designers, and contractors wrestle with this choice. In this in-depth […]
Meta Description: Discover expert insights on why decorative paint is more expensive than hardware store paint for Toronto homes and businesses, plus practical buying advice. Understanding the Real Differences: Decorative Paint vs Hardware Store Paint For Toronto homeowners, interior designers, and contractors, choosing the right paint isn’t only about colour selection—it’s about performance, finish, durability, […]
Ombre gradients on walls have become one of the most captivating and sought-after wall finishes for both residential and commercial spaces in Toronto. Whether you’re refreshing a downtown condo, elevating the atmosphere in a boutique, or adding depth to an open-concept office, the ability to create a flawless ombre effect can dramatically alter the mood […]