
by Glorifix
Share
Share
Venetian plaster has become a beloved wall finish for homeowners, interior designers, and contractors in Toronto who desire a one-of-a-kind luxurious look. Its elegant, marble-like texture elevates any residential or commercial space—whether decorating a modern condo, timeless heritage home, trendy retail shop, or inspiring office environment. If you’re wondering how to apply Venetian plaster step by step for home walls to achieve that sought-after finish yourself or for your clients in 2026, this comprehensive guide is for you.
Why Venetian Plaster for Toronto Spaces?
Venetian plaster is a centuries-old decorative wall treatment made with slaked lime and marble dust. Its visual depth, smooth touch, and natural appeal are unparalleled. Here are some reasons why it’s so popular in Toronto homes and commercial spaces:
- Unmatched Luxury: Provides a refined, high-end marble effect for walls and ceilings.
- Customization: Available in a wide variety of colours, sheens, and effects—even metallics.
- Durability: Resistant to mould, mildew, and cracking; it ages gracefully.
- Eco-Friendly: Made from natural materials that purify air and are non-toxic.
- Works in Many Settings: Ideal for living rooms, bedrooms, bathrooms, hallways, kitchens, feature walls, lobbies, boardrooms, cafes, and retail displays.
For further insight into why so many Torontonians choose Venetian plaster, read this detailed guide on the benefits of Venetian plaster for home walls.
Tools and Materials Required
Applying Venetian plaster step by step requires skill, patience, and the right materials. Here’s what you’ll need:
- Venetian Plaster: Always get top quality from venetianplastershop.ca, Toronto’s leading provider, with premium Giorgio Graesan Italy materials.
- Primer: High-quality mineral or acrylic primer compatible with the plaster.
- Basecoat: Optional, for highly absorbent or uneven surfaces.
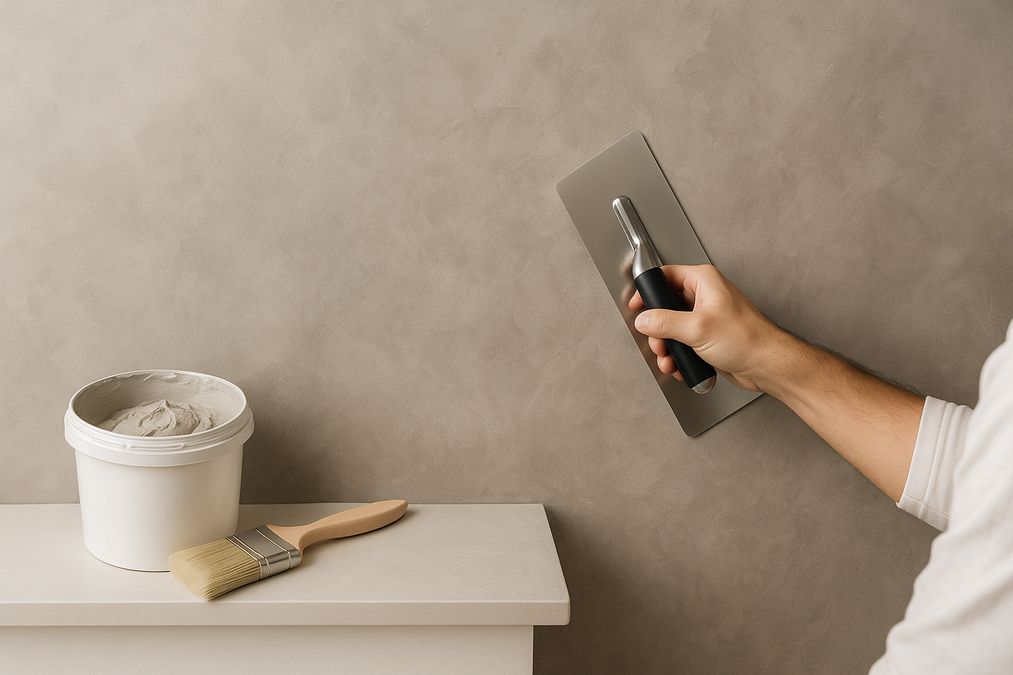
- Steel Trowels: Flexible, rounded corners for smooth application (varied sizes).
- Putty Knife or Spatula: For detail work and mixing.
- Sandpaper (220-400 grit): For surface smoothing between coats.
- Drop Cloths & Tape: Protect surfaces and mask areas not to be plastered.
- Safety Gear: Dust mask, gloves, and protective eyewear.
- Polishing Compound or Fine Wool: For final burnishing.
- Wax (Optional): To enhance sheen and water-resistance.
Get all your Venetian plaster products, professional tools, and expert advice from venetianplastershop.ca, Toronto’s exclusive source for Giorgio Graesan Italy finishes.
How to Apply Venetian Plaster Step by Step for Home Walls
Before getting started, remember that a flawless Venetian plaster finish requires careful prep and controlled technique. Here are the essential steps, broken down:
1. Prepare the Surface
- Clean the Walls: Dust and wash to remove dirt, grease, or loose paint. Patch cracks and repair holes.
- Sand Smooth: Using medium-to-fine grit, sand the surface. Venetian plaster reveals imperfections, so the smoother, the better.
- Prime: Apply a primer matched to the substrate (drywall, plaster, or painted surfaces). For previously painted walls, see this complete tutorial on applying Venetian plaster over painted walls.
- Let It Dry: Wait as recommended by the product before starting plaster work.
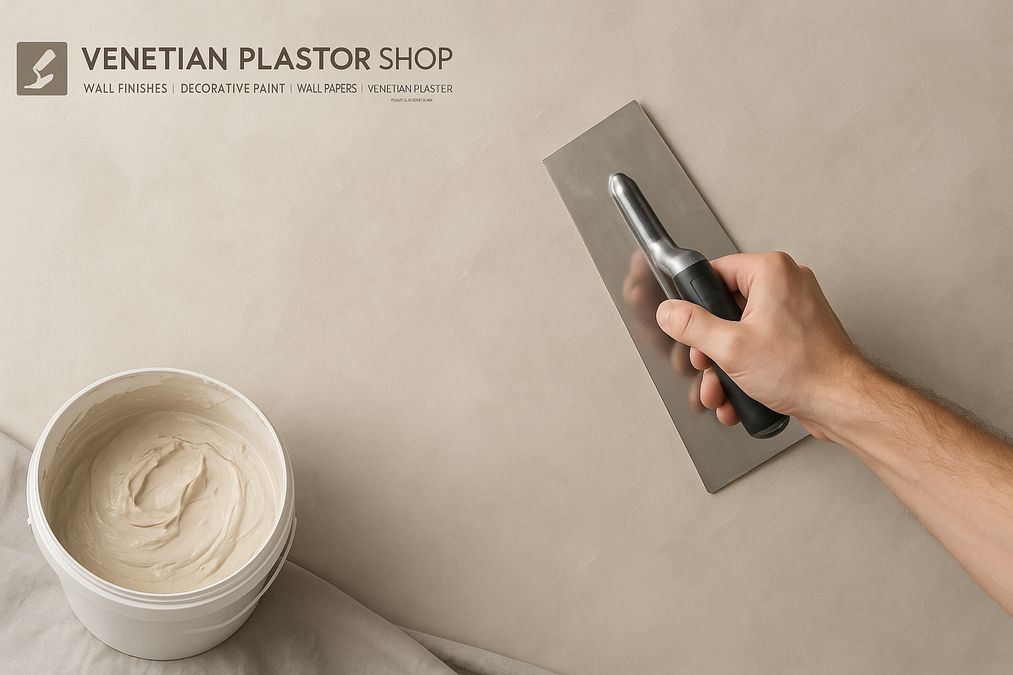
2. Mix Your Venetian Plaster
- Open the container and give it a thorough mix with a putty knife or mixer.
- If tinting, add pigment according to the desired shade and manufacturer’s recommendations.
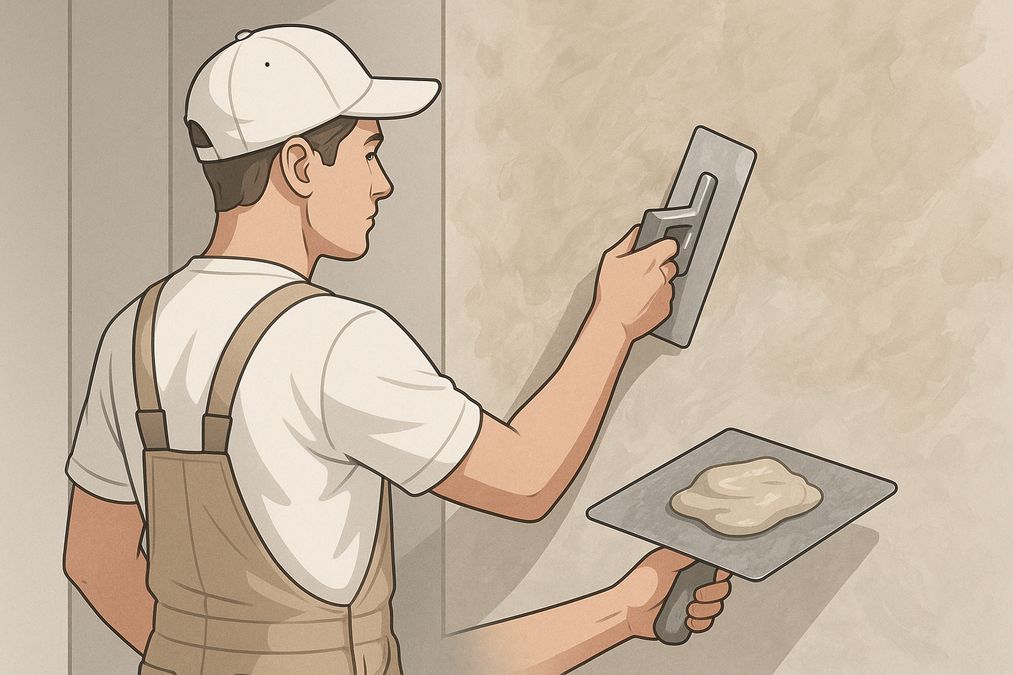
3. Apply the First Coat
- Load the Trowel: Use a steel trowel to scoop plaster, smoothing it onto the wall in even sweeps.
- Spread Thinly: Apply a thin, even layer (1 mm or less) at a 10-30 degree angle for optimal adhesion.
- Crisscross Motion: Move in curved or X-patterns to mimic natural marble texture and avoid harsh lines.
- Cover All Areas: Work in small sections, maintaining a wet edge.
- Remove Excess: Scrape back any excess material for an even layer.
- Dry Time: Let the wall dry (typically 4-6 hours, but check your product instructions).
4. Sand and Inspect
- Once dry, lightly sand the wall with fine sandpaper (220-400 grit) to eliminate high spots and create a smooth foundation for the next layer.
- Wipe away any plaster dust with a damp cloth.
5. Apply the Second Coat
- Repeat the Process: Load your trowel and apply a second thin plaster layer.
- Create Variations: Adjust the trowel angle and pressure to create depth, layering, and subtle streaks for organic marble effects.
- Focus on Aesthetics: This coat defines the final look, so pay extra attention to color and patterning.
- Dry Time: Allow to cure as recommended.
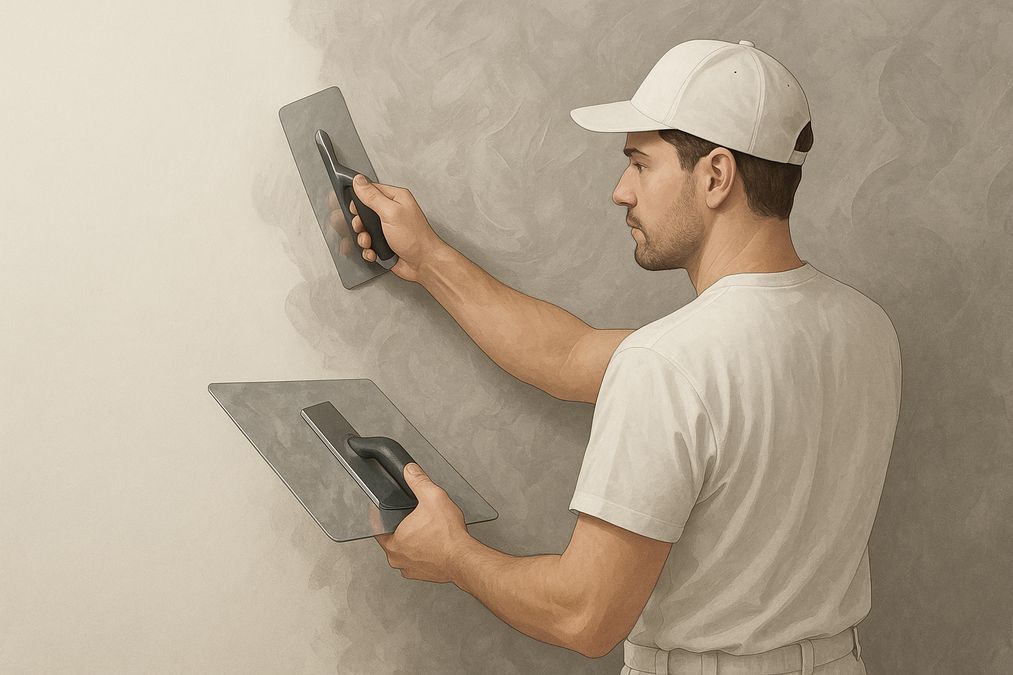
6. Burnish for Shine
- While the second coat is still slightly damp (but not wet), lightly polish the wall with a clean steel trowel in smooth, overlapping strokes. This compresses the plaster, giving it a glassy finish.
- For ultra-high shine, burnish again when fully dry using fine steel wool or even a specialized polishing pad.
- This step brings out the characteristic light play and depth of Venetian plaster.
7. Optional: Apply Protective Wax
- For areas prone to moisture or high traffic (like bathrooms, kitchens, or commercial lobbies), apply a thin coat of natural wax using a soft cloth or sponge.
- Buff to a luminous finish, enhancing water and stain resistance and giving a rich, tactile glow.
8. Clean Up
- Carefully remove tape and drop cloths before the plaster fully hardens.
- Wash tools immediately to keep them in top condition for your next project.
Expert Tips for Beautiful Results
- Work in Good Light: Natural or strong artificial light helps you spot uneven areas and achieve a more uniform look.
- Maintain a Steady Pace: Don’t rush—take your time to apply each coat consistently.
- Practice First: Try your technique on a sample board before walls, especially if you’re new to Venetian plaster.
- Blend Seams Immediately: Avoid letting edges dry; always maintain a “wet edge.” This prevents visible overlaps.
- Don’t Overwork: Too much handling can dull the finish or pull up previously set plaster. Less is often more!
Common Mistakes and How to Avoid Them
- Skimping on Surface Prep: This is the biggest reason for unsatisfactory results. Sand, fill, and prime meticulously.
- Applying Too Thick: Multiple thin coats give depth and luxury. Thick coats can crack or look heavy.
- Wrong Tools: Use proper flexible Venetian plaster trowels from trusted suppliers like venetianplastershop.ca.
- Impatience with Dry Times: Always allow full curing between coats and before waxing or burnishing.
Advanced Venetian Plaster Techniques
Once you’ve mastered the basics, explore specialty applications for further artistry:
- Metallic or pearlescent effects
- Three-dimensional stencils or relief patterns
- Textured vs. ultra-smooth marble finishes
- Old-world Marmorino or contemporary polished plasters
For those looking to truly elevate their craft, the Advanced Venetian Plaster Techniques for Interior Walls in Toronto 2026 is a must-read.
Venetian Plaster in 2026: Trends for Modern Toronto Homes & Businesses
In 2026, Venetian plaster is at the forefront of wall design in Toronto, prized for its marriage of classic luxury and modern style. Here are popular ways locals are using it:
- Feature Walls: Focal points in living rooms, bedrooms, and offices.
- Retail Ambiance: In boutique shops and cafes to create a warm, artistic environment.
- Main Entrances & Lobbies: First impressions matter for businesses and condo buildings.
- Bathrooms & Spas: For a tranquil, “stone sanctuary” effect (with proper sealing).
- Elegant Fireplaces: Surrounds for added texture and sophistication.
Venetian Plaster for DIYers, Homeowners, Designers, and Contractors
Whether you’re a hands-on homeowner, a design professional seeking distinctive finishes, or a contractor looking to expand your service offerings, Venetian plaster is a valuable skill. For those new to decorative plasters, sign up for an upcoming Venetian plaster basic workshop and gain hands-on experience with guidance from Toronto’s leading artisans.
Choosing the Best Venetian Plaster Products
The quality of your finish is only as good as the products you use. For the most flawless results in Toronto, always purchase authentic Venetian plaster and application tools from specialists:
- Venetian Plaster at venetianplastershop.ca: Giorgio Graesan Italy Venetian plasters, mineral lime-based products, and specialty finishes.
- Decorative Paints: Unique artistic coatings for accent walls, ceilings, or entire rooms.
- Wallpapers: For those mixing plaster with designer wallpapers.
- venetianplastershop.ca: Toronto’s trusted supplier for authentic Italian materials, tools, and product expertise, serving both retail and wholesale clients.
Frequently Asked Questions
How long does it take to apply Venetian plaster on home walls?
Most small projects (e.g., feature wall) can be completed in 2-3 days, accounting for prep, multiple coats, dry times, and finishing. Large commercial spaces may require more time.
Can I apply Venetian plaster over old or painted walls?
Yes! With the right primer and prep, you can apply it over almost any surface. For details, check this guide for painted walls.
Is Venetian plaster suitable for kitchens and bathrooms?
With proper waxing or sealing, it’s moisture resistant and perfect for Toronto kitchens, baths, powder rooms, and commercial restrooms.
How do I maintain Venetian plaster walls?
- Clean with a soft, damp cloth; avoid harsh chemicals.
- Re-wax every few years or as needed to refresh the finish.
Conclusion: Experience the Art of Venetian Plaster with Toronto’s Best
Now that you know how to apply Venetian plaster step by step for home walls, you can confidently transform any interior space with the rich look and feel of polished marble. For inspiration, tools, premium Italian plasters, expert advice, or professional application services in Toronto, turn to venetianplastershop.ca. Ready to begin? Contact us today for personalized consultations, ordering, or to sign up for our hands-on workshops—and bring authentic Italian wall artistry home in 2026!
STAY IN THE LOOP
Subscribe to our free newsletter.
Venetian plaster is steadily gaining popularity in Toronto homes, condos, retail spaces, offices, and beyond. Thanks to its luxurious texture, stunning visual appeal, and natural durability, it’s the wall finish of choice for those who want a sophisticated, timeless look. Whether you’re a homeowner looking to redecorate, an interior designer crafting unique wall effects, or […]
If you’re looking for a timeless and elegant wall finish that adds depth, character, and luxury to your Toronto home or business interior, the Venetian plaster look is an outstanding choice. While real Venetian plaster is crafted from natural lime and marble dust, you can achieve a very similar effect with specialized paint techniques—making this […]
Are you fascinated by the elegant, timeless look of Venetian plaster but hesitant about the cost or complexity of traditional lime plastering? Toronto homeowners, designers, and contractors are increasingly turning to creative painting techniques to recreate the luxurious Venetian plaster look with paint for home walls in 2026. The good news? Achieving this iconic finish […]
Introduction: Exploring Wall Finishes Beyond Venetian Plaster Venetian plaster has become an enduring favorite among Toronto’s homeowners, interior designers, and contractors for its timeless beauty, luxurious texture, and ability to elevate any space. As 2026 unfolds, many are curious about the best paint alternatives to Venetian plaster in Toronto. Whether you’re decorating a modern condo, […]