
by Glorifix
Share
Share
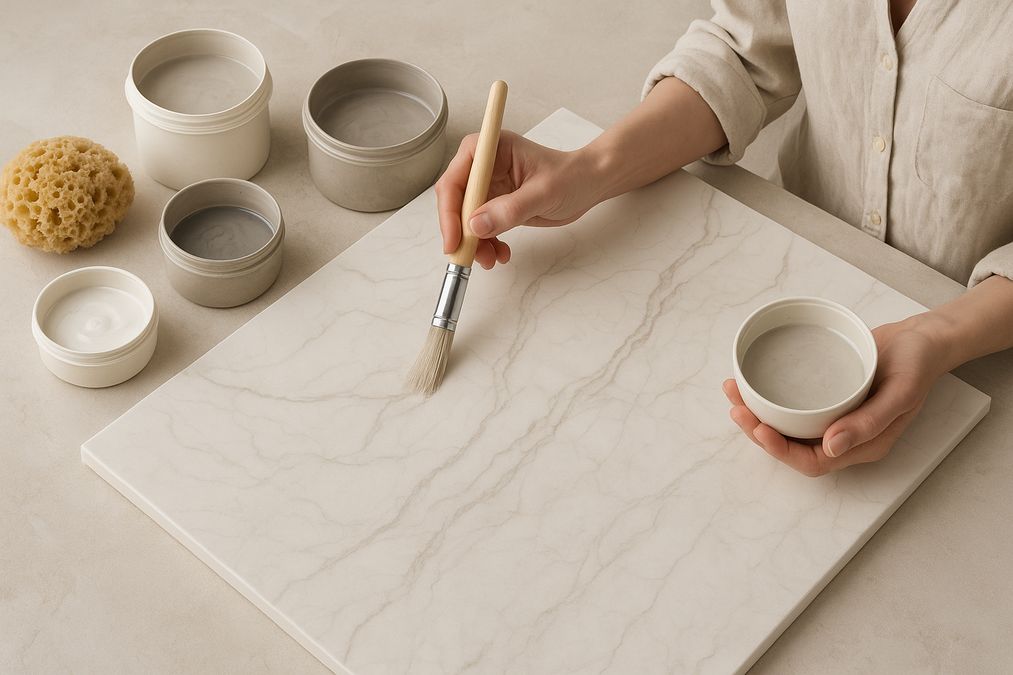
Understanding the Hand-Crafted Marbleized Finish
Why Choose Painted Marble Over Real Stone?
- Versatility: Create fluid veining patterns in any colour, scale, or intensity.
- Seamlessness: Unlike tiles or real slabs, painted finishes have no grout lines—making them ideal for large surfaces and feature walls.
- Budget-Friendly: Materials are only a fraction of the cost of quarried stone.
- Maintenance: Painted finishes can be touched up or refresh-coated in future, unlike natural marble that may etch or stain.
One of the most common mistakes we see is clients choosing pre-made “marble effect” wallpapers or decals, only to regret the flat, repetitive patterns and limited colour options. When you hand-paint, you’re in full control—not only of the look, but also the tactile feel and finish.
Planning Your Marbleized Wall Project in Toronto
Key Questions To Ask Before You Begin
- Room Location & Lighting: Will sunlight hit the wall directly? Does the room need to feel warmer or brighter?
- Surface Condition: Is the underlying wall smooth, or will repairs be needed before starting?
- Finish Level: Are you looking for a polished, high-gloss marble effect—or a more subtle matte or satin look?
- Colour Palette: Want to mimic classic Carrara, bold black Marquina, or a custom colourway?
For most Toronto projects, we recommend viewing large marble slabs at a showroom or using online inspiration galleries to select your base pattern and colour scheme. Keep in mind the impact of room lighting—cooler undertones feel crisper, while warm veining helps small spaces feel inviting in our long winters.
DIY or Professional Installation?
While the steps below are accessible to most DIYers, producing convincing, natural patterns takes practice. Many of our clients opt for hands-on workshops and training before tackling a large wall, or hire our team for focal points and intricate ceilings.
Essential Tools & Supplies for Hand Marbleizing
Recommended Supplies:
- Smooth wall primer (latex or acrylic)
- Base colour paint (satin or eggshell for residential; scrubbable acrylic for commercial spaces)
- Marble vein accent paints (Giorgio Graesan pigments or other high-quality decorative paint)
- Assorted artist brushes (liners and small rounds for veining)
- Sea sponges and soft rags
- Feather (for softer, natural veins)
- Plastic trowel or putty knife (optional, for Venetian plaster or layered effects)
- Bucket of water & spray bottle (for blending)
- Painters’ tape and drop sheets
- Clear matte, satin, or gloss protective topcoat (high-traffic areas)
Many clients try to cut costs with discount paints or hardware-store brushes, but in our years of experience, this usually results in muddy colours and unnatural veins. For best results, combine specialty decorative paints—available through venetianplastershop.ca—with custom tools for seamless blending.
Step-by-Step: How to Create Marbleized Paint Effect by Hand
- Prepare the Wall Surface
- Remove old flaking paint and fill holes. Clean thoroughly—dust and grease will affect adhesion and blending.
- If painting over old paint, it’s crucial to verify wall stability and proper surface prep. For more details, see Is it Safe to Paint Over Old Paint in Toronto Homes 2026?
- Apply a Base Coat
- Select a base colour similar to the marble background—popular classics are soft whites, pale greys, or creamy beiges.
- Roll on the paint in even coats; let it dry fully (often overnight, especially in Toronto’s humid seasons).
- Map Out Marble Vein Patterns
- Using reference photos, lightly sketch the major veins with a pale pencil or soft chalk. Professional tip: keep veins organic, with a few main “branches” and some subtle secondary offshoots.
- Avoid making the pattern too regular or straight—natural marble veins rarely repeat.
- Create Veins with a Fine Liner Brush or Feather
- Mix accent paint (darker or colour-contrasting hue) with glaze or water for translucency.
- Working in small sections, paint veins in a single, fluid pass—varied pressure creates a natural look.
- Immediately soften the edges with a damp sponge or rag, gently blurring sharp lines.
- Some clients get carried away here; remember, restraint is key—less is truly more when creating a marble effect.
- Layer and Soften for Depth
- Use a clean, slightly damp sea sponge to dab on thin layers of lighter and darker tones near the veins—this mimics the depth and translucency of real marble grains.
- Professionals often step back between each layer, viewing from across the room, making sure the effect reads naturally in the space.
- Finishing Touches
- Highlight select veins with a “halo” of softer colour for extra realism, if desired.
- For a classic marble polish, add a high-gloss sealer; satin or matte topcoats are best for a more contemporary look or commercial interiors where glare is an issue.
In our experience, patience and practice are the difference between a DIY project and a true professional result. Many first-timers find it helpful to practice veining on cardboard before tackling their final wall, especially when experimenting with new colour combinations.
Expert Tips: Avoiding Common Marbleizing Mistakes
Mistakes We See Most Often
- Too many contrasting colours competing for attention.
- Regular, repeating veins that look artificial.
- Veins far too thick (keep primary veins no larger than a pencil-width, with plenty of space between them).
- Poor blending—harsh lines or patchy veining.
- Skipping thorough wall preparation, leading to peeling or uneven finish.
Professional Solutions
- “In our Toronto workshops, we always recommend starting subtle and layering depth rather than trying to achieve the final look in one step.”
- “Nature isn’t perfect; let your hand flow and take breaks to check your progress from different distances and lighting angles.”
- “Use a colour-wash for very faint, underlying veins—it gives the finish more complexity and realism.”
Many customers are surprised to learn that subtle ‘mistakes’ can often be easily corrected by sponging out an area and re-layering. This is one reason why marbleized paint continues to be popular among professionals—it’s flexible, forgiving, and easy to repair or update as trends change.
Choosing the Right Paint and Finish for Your Space
Residential vs. Commercial Needs
- High-Traffic Areas: Satin or eggshell is easiest to wipe; matte is best for subtle, sophisticated looks but may require more touch-ups in busy spaces.
- Bathrooms & Kitchens: Always use moisture-resistant or washable paints. In high-moisture commercial settings, a professional-grade sealer is strongly advised.
- Offices & Retail: Consider durability and colour psychology—blues for calm, bold greys or blacks for drama, golds for luxury appeal.
Comparison: Chalk Paint vs. Mineral Paint for Marble Effects
| Property | Chalk Paint | Mineral Paint |
|---|---|---|
| Durability | Good (needs sealing) | Excellent (often self-sealing) |
| Blendability | Very high for soft transitions | Medium (thicker consistency) |
| Satin/Gloss Options | Limited (matte default) | Available (range of finishes) |
| Eco-friendly | High | High (varies by brand) |
| Commercial Suitability | Good for homes, lower traffic | Better for high-traffic or business use |
For a deeper comparison, see Which is Better for Home Decor: Chalk Paint or Mineral Paint?
We often advise clients to match paint type to their cleaning requirements and natural lighting. Mineral paints with a touch of sheen perform especially well in open-plan kitchens and offices exposed to fluorescent or LED lighting.
Integrating Marbleized Paint with Other Designer Wall Finishes
Wallpaper, Venetian Plaster, and Decorative Paint: Which to Choose?
- Wallpaper: Offers precise, repeated patterns and quick installation. Best for feature walls in low-moisture rooms or temporary designs. Explore more at venetianplastershop.ca/wallpapers/.
- Venetian Plaster: Delivers depth plus tactile luxury; ideal for large, high-impact surfaces and curved walls. Repairs easily and ages beautifully. Learn about authentic imported options at venetianplastershop.ca/venetian-plasters/.
- Decorative Paints: The most versatile; from metallics to limewash, you can layer multiple finishes for modern or heritage effects. Browse our curated collection at venetianplastershop.ca/decorative-paints/.
When to Mix Marbleizing with Other Finishes
We often recommend marbleizing as a feature above chair-rail height, with a wallpaper or plaster wainscot, or incorporating metallic veining for added sophistication. A popular request in Toronto’s boutique hotels and upscale retail is combining gold-veined marble paint with a matte Venetian plaster surround—contrasting sheen and texture for maximum visual impact.
Maintaining Your Marbleized Wall for Lasting Beauty
- Wipe surfaces gently with a damp cloth; avoid abrasive scrubbers.
- For most residential settings, a light dust or occasional wipe is sufficient—commercial settings may require monthly cleaning to retain vibrance.
- If touched up, always feather new paint into existing marble patterns; spot repairs are nearly invisible when done carefully with matching pigments and proper blending.
- Consider a fresh coat of clear sealer every 2–4 years for high-traffic areas.
One thing many homeowners overlook: Toronto’s seasonal humidity changes can affect surfaces. Allow fresh marbleized paint several days to cure before exposing to heavy traffic, hanging artwork, or routine cleaning—especially during damp springs and humid summers.
Cost & Budget Considerations for Toronto Projects
Frequently Asked Questions: Hand-Painted Marble Effects
- Can I marbleize over textured walls?
- Flat, smooth surfaces give the most realistic marble look. Consider a skim coat or professional prep if your walls are heavily textured.
- Is marbleizing suitable for bathrooms or kitchens?
- Absolutely—just use moisture-resistant primers and topcoats, and avoid direct water contact (behind sinks/showers). For steam rooms or full wet zones, ask our team about alternative finishes.
- How long does the process take from start to finish?
- A single feature wall usually takes two days: one for prep and base coat, one for veining and layering, plus extra drying time for sealer/topcoat if used.
- Can I combine marbleized paint with stencils or metallics?
- Definitely—a growing trend is overlaying stencil motifs in metallic gold/silver for a luxe, dimensional look. Our team can recommend compatible products and application methods.
- Can the paint be touched up if damaged?
- Yes, with careful colour matching and blending, repairs are almost invisible—a major advantage over vinyl wallpaper or panels.
Final Thoughts: When to Seek Professional Help
STAY IN THE LOOP
Subscribe to our free newsletter.

Choosing the right wall finish for your Toronto home, business, or design project is not simply a matter of style—it’s a decision that impacts durability, maintenance, cost, and even the value of your property. One recurring question we hear from homeowners, designers, and contractors is: when can decorative paint stand in for traditional plaster walls, […]
Looking for an affordable way to create the luxurious look of plastered walls—without the cost or hassle of traditional plasterwork? Whether you’re a homeowner, an interior designer, or a contractor in Toronto, mastering affordable decorative paint techniques to mimic plaster finish can transform residential or commercial spaces dramatically. Our expert team at venetianplastershop.ca shares must-know […]
Introduction: Understanding Your Decorative Finish Options in 2026 If you’re planning to give your Toronto home, retail store, or office a fresh new look in 2026, you’ve likely considered decorative finishes. But one of the biggest decisions you’ll face is whether to use a DIY paint kit or invest in professional decorative finishes like Venetian […]
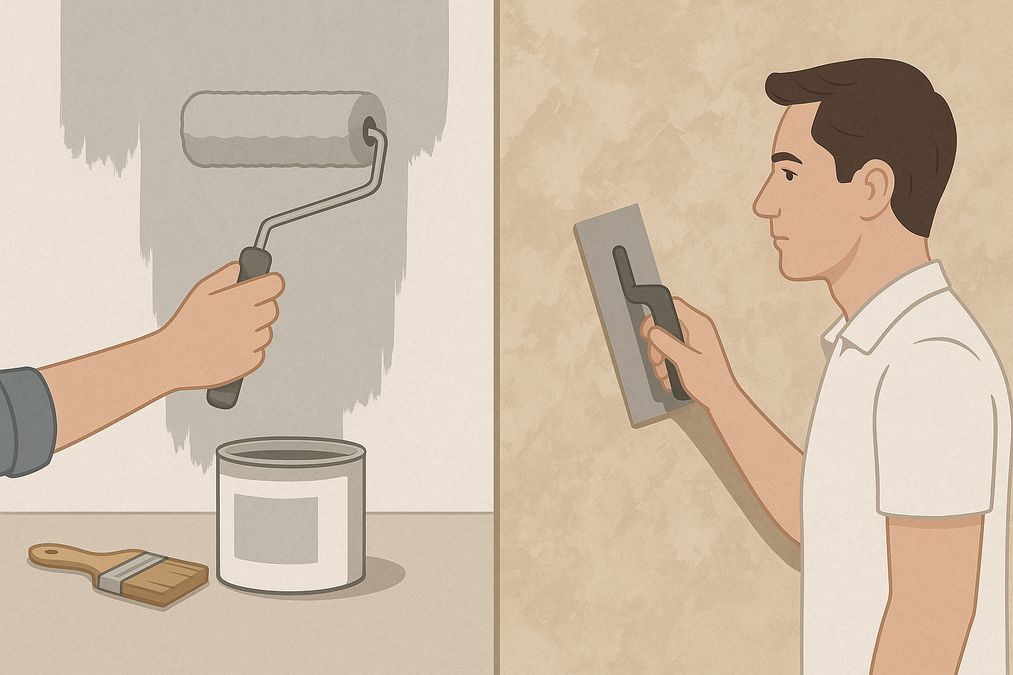
Decorating a wall is no longer a simple colour swap—Toronto homeowners, business owners, and designers seek distinctive finishes to set their interiors apart. With the rise of both DIY paint kits and access to professional decorative finishes, the question many clients are asking in 2026 is: should you go DIY or hire a pro for […]